Your (almost no sew*)
step-by-step guide
to recovering
dinette cushions
*You could do this completely no sew if you wanted to.
I just wanted to hem a few of the edges.
What You'll Need:
- Dinette Cushions
- Fabric - about 5-6 yards (I used a Pro-Tuff Outdoor Fabric from Walmart - Polyester/PVC)
- Scissors
- Measuring board/tape
- Sewing Machine (optional)
- Thread (optional)
- Sewing pins
- e6000 glue - We got ours from Home Depot
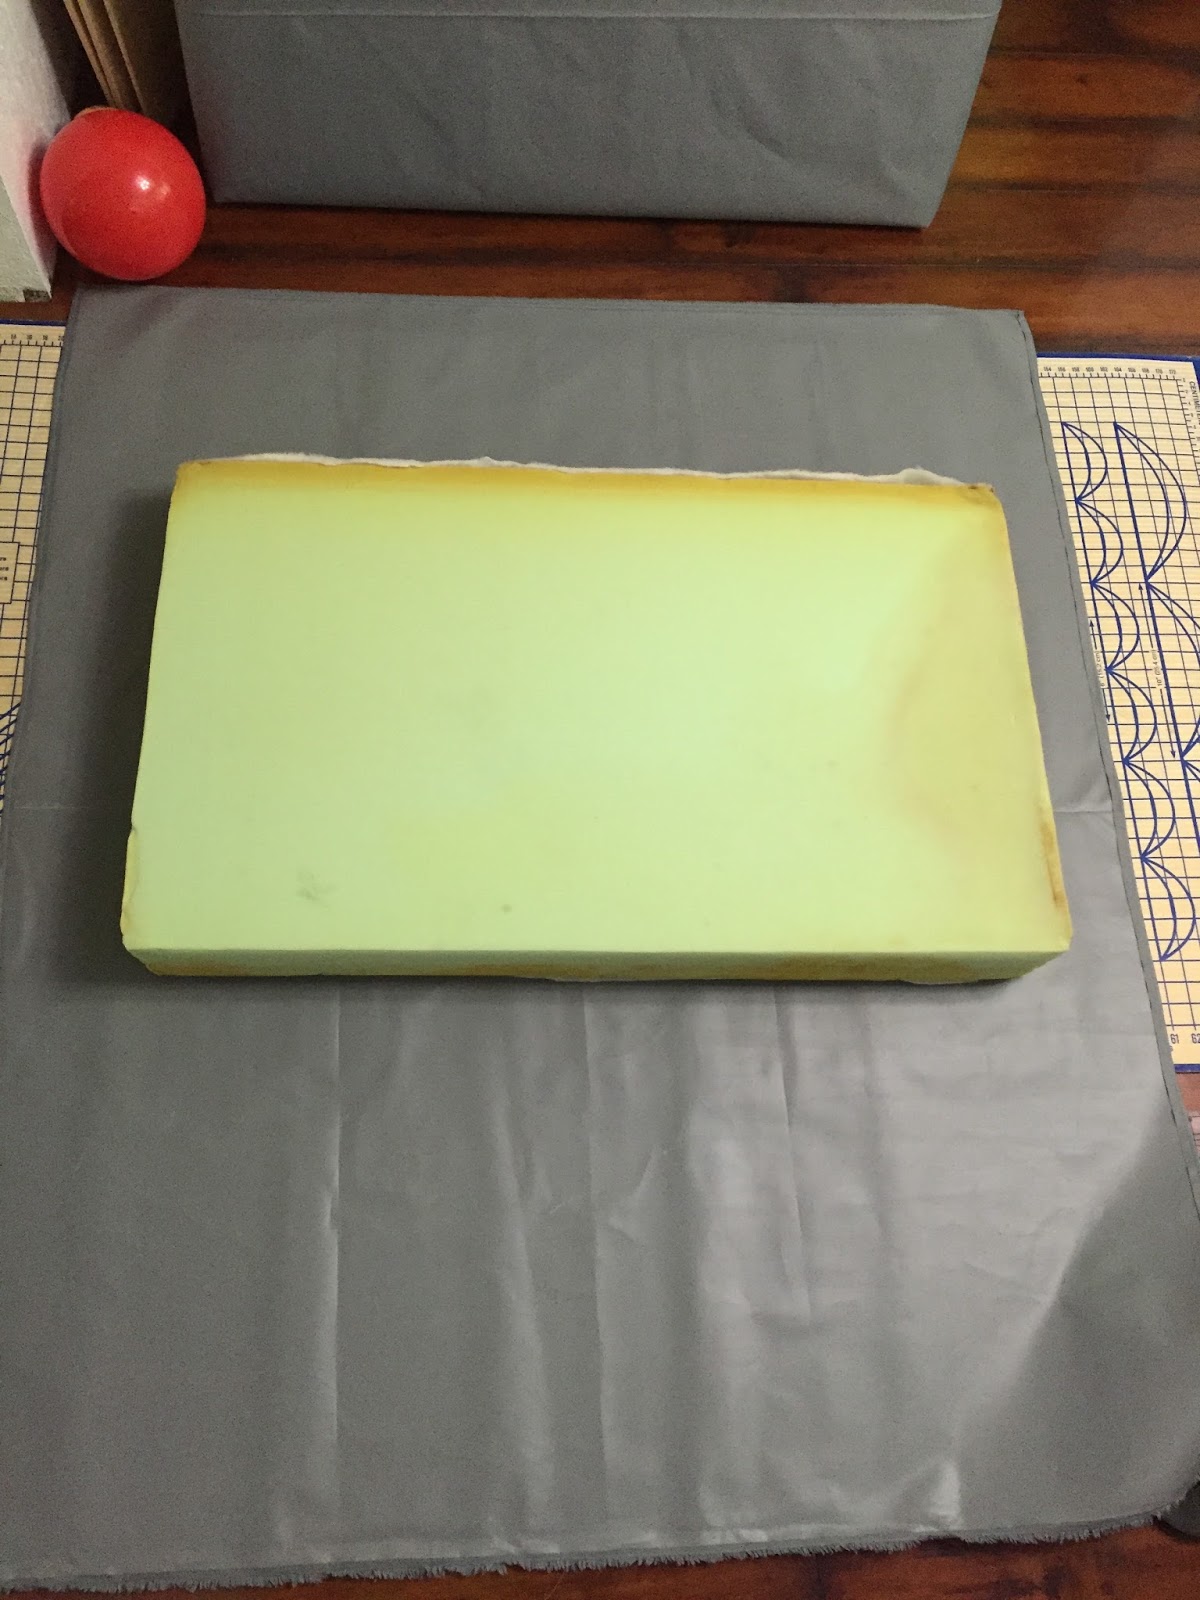
Step One
Open your fabric up and lay it out horizontally (selvage edges up/down) on a table, floor, or any big work space. Measure about 6 inches in from the edge of the fabric and lay down your cushion.

Step Two
Measure 6 inches from the right side of the cushion. Cut all the way across the fabric. Then place the cushion in the middle of the cut piece of fabric. Be sure to keep 6 inches on each side.
*Optional Step
I quickly turned my raw edges in about 1/2 inch and sewed them down. I don't think I really needed to because this fabric didn't unravel at all after being cut. BUT I'm a worrier and I know these are going to get a lot of use. So I just did this extra step as a precaution. Depending on what type of fabric you're using, you might want to do this. :)

Step Three
Fold up the bottom section of fabric to cover the back of the cushion.

Fold down the top to repeat the process.

Pull the fabric taut as you fold the top down and pin the fabric into place.
Step Four
On the side, tuck the fabric you just folded under the cushion. This will help create triangles on the side to fold in.

Just like wrapping a present, fold in the corners of the sides to meet the side of the cushion. Pin in place

Pull the fabric taut then fold the flap up and over the back of the cushion. Make sure to smooth out any wrinkles or extra fabric. Pin in place.

Repeat with other side.
Step Five
Unpin your cushion (we only unpinned one side at a time so that the fabric wouldn't slid around at all.) Take the e6000 glue and first glue along the seam on the back of the cushion. Press and pin into place.


Repeat the gluing process one side at a time. Glue the triangles to the side of the cushion. Next, glue the flap up to the side of the cushion. Lastly, glue the tip of the flap to the side or back - wherever it falls on the cushion. Pin in place to help hold until the glue sets (24-72 hours.)


And that's it! Set that baby off to the side to dry for a few days. Just don't forget to remove the pins before using it! Here's the before and after pictures of our dinette cushions.


(**Please note: This is a semi-permanent cover. The fabric we used is NOT washable. So we chose to glue the fabric instead of using a different closure method. This is not meant for covers that will need to be washed periodically.**)
Let me know in the comments what you think about the tutorial and any questions that you may have!
Until we have s'more!